Growing Vertically,
I just love my vertical trellises. Once again I followed Mel’s instructions,
and I am here to tell you that so far they are working great. And they were so easy to build. It is still early in the season, but they
seem to be sturdy enough. We made one
modification to his plan. Instead of
tying all the little ties on each square of the nylon vegetable trellis to the
frame, we purchased zip ties and used them to attach the nylon trellis to the
conduit frame. I have to admit this was
my husband’s idea and at first I was a little skeptical, but indeed it was an
excellent idea! I did not relish tying
each little square on the nylon trellis to the frame. I believe this idea may also make it easier
to take down at the end of the growing season.
I am hoping that the nylon trellises are sturdy enough to reuse next
year.
 |
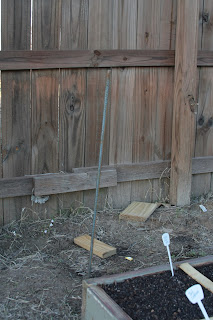
| Look closely and you can see the rebar at the corner of the raised bed. |
 |
| Conduit Trellis Frame |
How we made our vertical trellises:
Materials needed for one trellis:
2 - 6 ft lengths of electrical conduit
1 – 4 ft length of electrical conduit
2 – L - shaped conduit connectors
2- 4 ft length of rebar (Mel recommends 18 – 24 inches. I may try the shorter length in the future.)
1 – nylon vegetable trellis
I purchased all the materials at a local home and garden
center. The conduit came in 10 foot
lengths, but the garden center cut it for me into the lengths that I
needed.
To construct the vertical trellis I began by attaching one
of the connectors to each end of the four foot conduit. In order to position the rebar supports in
the right place, I laid the four foot piece of conduit on the ground where I
wanted my trellis and then using a hammer I drove the rebar into the ground
about 1 – 1 ½ feet deep. Next I slid
one six foot length of conduit onto each rebar.
To complete the conduit frame I simply connected the four foot length of
rebar to the top of the six foot lengths.
The connectors that I purchased had screws that I easily tightened to secure
the two pieces of conduit to each other.
The final step was to hang the nylon vegetable trellis to the
frame. My trellis was bigger than my
frame so I had to trim it to fit. As you
can see from the pictures, so far it is working great.
I still need to build a few more, but this project took less
than 30 minutes to build.

